
Picture windows are a beautiful addition to any home, allowing natural light to flood in and providing stunning views of the outdoors. Whether you are replacing an old window or installing a new one, it is essential to understand the process of picture window installation. This step-by-step guide will walk you through everything you need to know to install a picture window in your home.
Tools and Materials Needed for Picture Window Installation
Before you begin the installation process, gather all the necessary tools and materials. Having everything on hand will make the installation smoother and more efficient. Installing a picture window requires careful preparation and the right set of tools and materials. Here are the essential tools and materials you will need:
Tools
- Tape Measure: Essential for accurate measurements of the window opening.
- Level: To ensure your window is perfectly horizontal and vertical.
- Screwdriver (both flathead and Phillips): For fastening screws during installation.
- Pry Bar: Useful for removing the old window or any trim.
- Hammer: For various tasks, including securing nails or adjusting components.
- Caulking Gun: For applying caulk around the window to seal gaps.
- Putty Knife: Helps in applying and smoothing caulk or putty.
- Safety Glasses: To protect your eyes from debris and dust.
- Gloves: Protect your hands during handling and installation.
- Utility Knife: For cutting flashing, insulation, and trimming excess material.
Materials
- Picture Window: The main component; ensure it’s the correct size and style.
- Window Flashing: Prevents water infiltration around the window.
- Exterior Trim: To frame the window and improve its aesthetic appeal.
- Insulation: For sealing gaps around the window frame to prevent drafts.
- Exterior Caulk: Weatherproof caulk for sealing the window’s exterior.
- Screws: Various sizes for securing the window and trim.
- Nails: For attaching components where screws aren’t suitable.
- Shims: To level and secure the window in the opening.
Additional Tips
- Measuring Tape (Longer Length): For larger windows, a longer tape measure can be more convenient.
- Drill (with Bit Set): A power drill can make the installation of screws quicker and more efficient.
- Stud Finder: Useful if you need to secure the window to studs in the wall.
- Foam Insulation: For additional insulation around the window frame.
- Sealant Gun Accessories: Nozzles and cleaning tools for the caulking gun.
Gathering these tools and materials will ensure you’re well-prepared for installation, leading to a more efficient and effective job. Remember also to consult the specific installation instructions for your picture window, as there may be additional requirements or steps unique to the product.
Preparing for Picture Window Installation
The first step in picture window installation is to prepare the area where the window will be installed. Start by removing any curtains, blinds, or other window treatments. Clear the area around the window, both inside and outside, to ensure easy access during installation.
Next, cover the surrounding walls and flooring with drop cloths or cardboard. This will prevent any damage from tools or debris during the installation. It is also a good idea to remove any fragile items or furniture from the immediate vicinity of the window to avoid accidents.
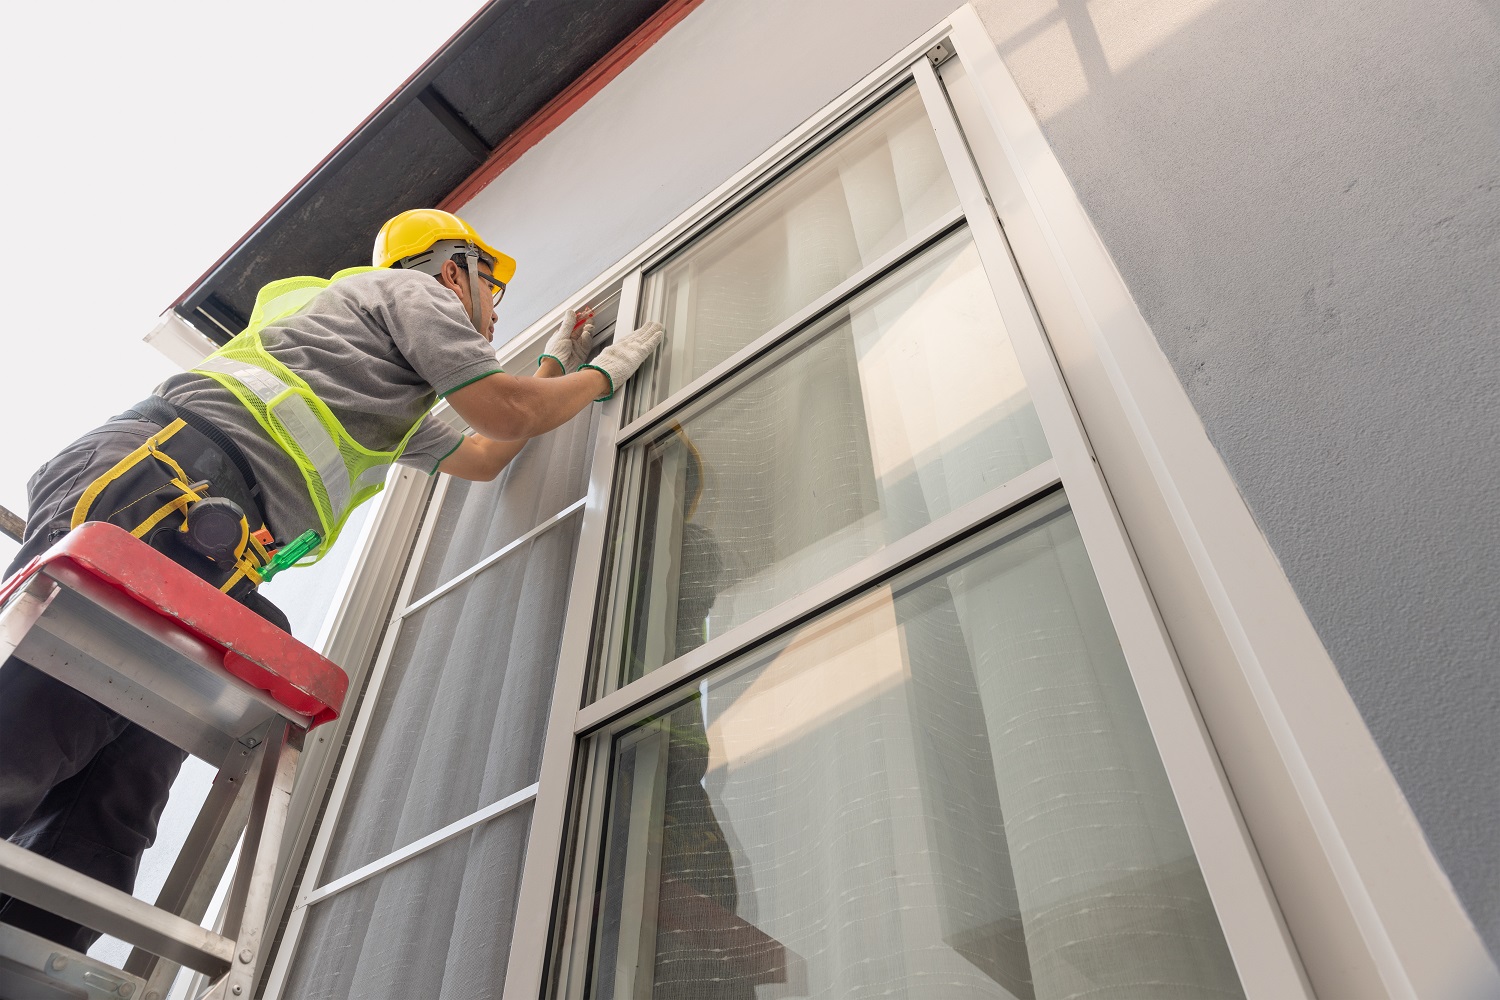
Removing the Old Window
If you are replacing an old window, the next step is to remove it. Removing trim or molding around the window using a pry bar or screwdriver. Be careful not to damage the surrounding wall during this process.
Once the trim is removed, take out any screws or nails holding the window frame in place. Use a pry bar or hammer to loosen the structure from the wall gently. Slowly and carefully remove the old window frame, taking care not to shatter the glass or cause any injury.
Measuring and Preparing the Opening for the New Picture Window
With the old window removed, it is time to measure and prepare the opening for the new picture window. Start by measuring the width and height of the door using a tape measure. Take multiple measurements to ensure accuracy.
Once you have the measurements, use them to determine the size of the new picture window you will need. Choosing a window that fits the opening snugly is essential to ensure proper installation and energy efficiency.
After determining the size, prepare the opening by cleaning it thoroughly. Remove any debris, dirt, or old caulking from the frame and surrounding areas. This will ensure a clean and smooth surface for the new window installation.
Steps for Replacing and Installing Picture Window
Now that the opening is prepared, replacing and installing the picture window is time. Follow these steps for a successful installation:
Apply window flashing
Window flashing is a waterproof barrier that prevents water from seeping into the wall. Apply the flashing around the opening, ensuring it is secure and properly sealed.
Install the new window
Carefully place the new picture window into the opening, positioning it squarely and aligning it with the flashing. Use shims to ensure the window is level and plumb. Secure the window in place by driving screws into the frame.
Insulate the window
Insulation is crucial for energy efficiency and preventing drafts. Fill any gaps between the window frame and the opening with insulation. Make sure to use a material that is suitable for your climate.
Seal the window
Apply exterior caulk around the edges of the window to create a watertight seal. Smooth the caulk with a putty knife for a clean finish.
Install exterior trim
If your picture window requires exterior trim, carefully measure and cut the trim to fit around the window. Attach the frame using nails or screws, ensuring it is securely fastened.
Insulating and Sealing the Picture Window

Proper insulation and sealing are essential to maximize energy efficiency and prevent drafts. After installing the picture window, check for gaps or openings around the frame. Fill these gaps with insulation to ensure a tight seal.
Next, apply exterior caulk around the edges of the window, both inside and outside. This will create a watertight seal and prevent any air leakage. Smooth the caulk with a putty knife for a neat and professional finish.
Finishing Touches and Clean-Up
With the picture window installed, it is time to add the finishing touches. If your window requires interior trim, carefully measure and cut the trim to fit. Attach the trim using finishing nails or screws for a clean and polished look.
After completing the installation, clean up any debris or mess left behind. Remove drop cloths, vacuum the area, and wipe down the window and surrounding surfaces. Enjoy the beautiful new picture window and the natural light it brings into your home.
Disadvantage of Installing Picture Windows

- Ventilation Concerns: Some homeowners may shy away from picture windows due to their non-opening nature, which limits airflow. This is particularly significant for those who depend on natural air circulation for cooling their homes.
- Heat Gain Issues: While picture windows allow abundant natural light, they can also bring in unwanted solar heat. Buyers should examine any window’s U-factor and Solar Heat Gain Coefficient, regardless of style, to gauge its potential for excessive solar heat absorption.
- Breakage Risks: Larger glass panes in picture windows may pose a higher breakage risk. Without shatterproof glass or protective films, these windows can be more vulnerable. Tempered safety glass might be necessary, depending on the glass size and location.
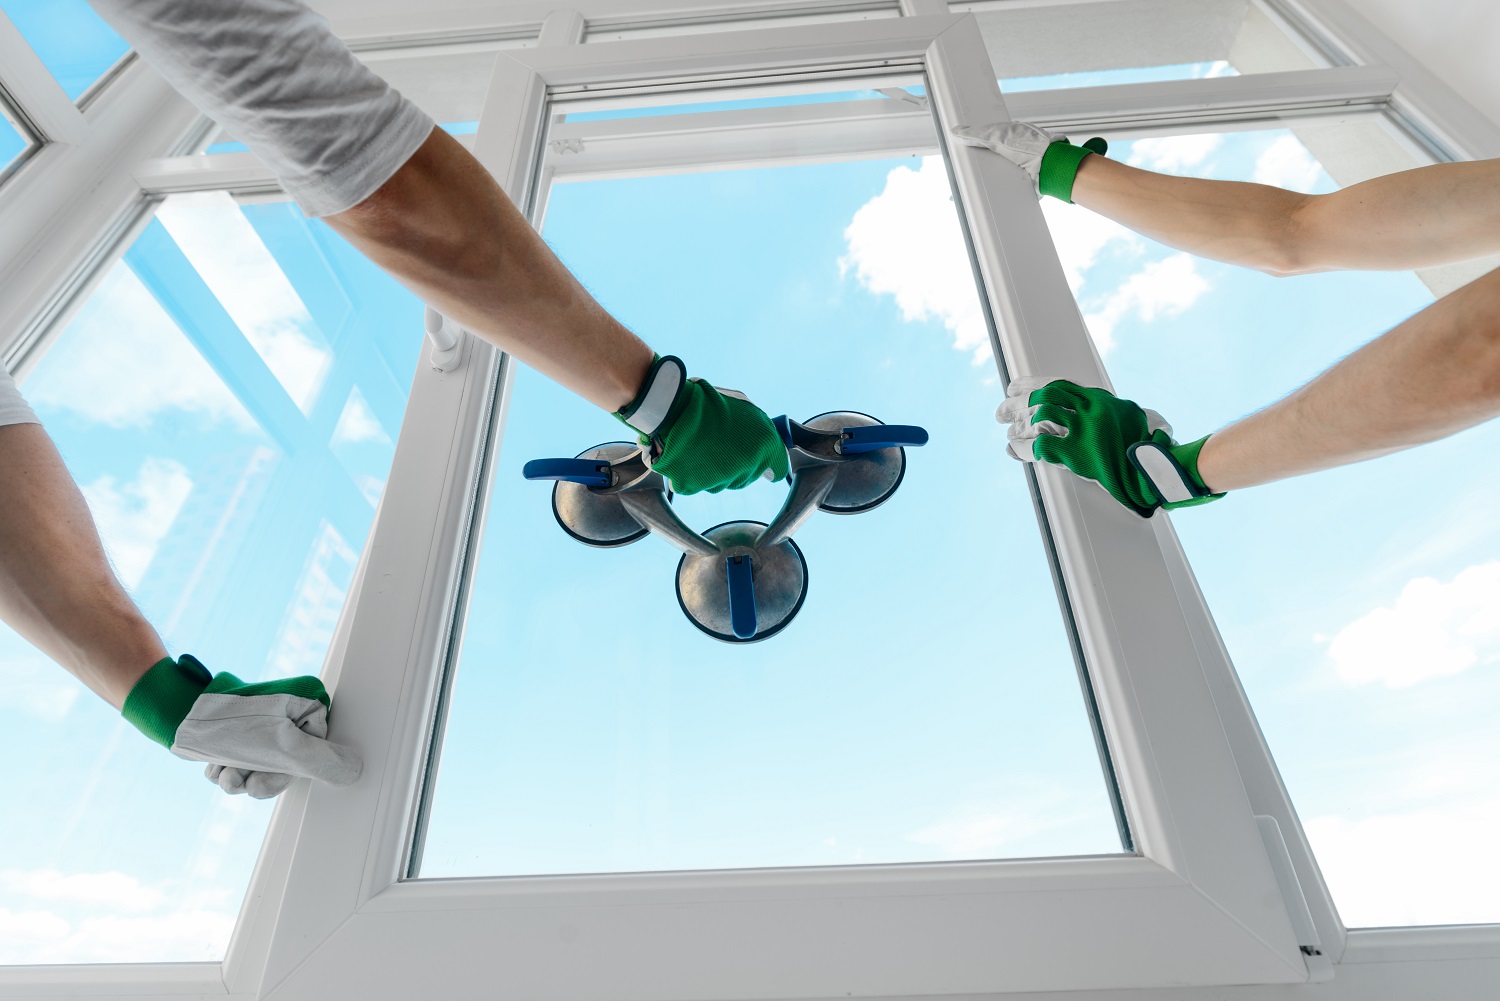
- Cleaning Challenges: Maintaining the exterior cleanliness of picture windows can be challenging, particularly when they are situated on higher floors of a building, making them difficult to access.
Common Mistakes to Avoid During Picture Window Installation
While installing a picture window may seem straightforward, there are common mistakes that homeowners should avoid. Here are a few to keep in mind:
- Incorrect measurements: Accurate measurements are crucial for a proper fit. Always double-check your measurements before ordering or purchasing a picture window.
- Improper installation: Take the time to ensure the window is level, plumb, and square during installation. Improper alignment can lead to issues with functionality and energy efficiency.
- Inadequate sealing: Proper sealing is essential to prevent water leaks and drafts. Apply enough exterior caulk and insulation to create a tight seal.
- Rushing the process: Picture window installation requires patience and attention to detail. Take your time and follow each step carefully for a successful installation.
Picture Window Styles
- Classic Picture Window: This style is a large, fixed pane of glass that doesn’t open or close. It’s designed to offer a clear, unobstructed view of the outside, making it ideal for showcasing landscapes or cityscapes.
- Picture Window with Flanking Windows: In this design, the central picture window is accompanied by smaller windows on either side. These side windows can often be opened, providing ventilation while maintaining the aesthetic of a large main window.
- Arch-Top Picture Window: This style adds an architectural element with a curved or arched top. It’s an excellent choice for adding visual interest and elegance to a home’s facade.
- Bay or Bow Picture Window: These are combinations of windows that extend outward from the home. They create a curved (bow) or angular (bay) structure, with the central section often being a picture window.
- Custom-Shaped Picture Window: These windows are customized into unique shapes, such as circles, triangles, or hexagons. They are often used as a design focal point in a room.
- Transom Picture Window: This style is typically a smaller, horizontal picture window placed above a door or another window. It adds extra light and decorative value.
- Picture Window with Grilles: This style incorporates grilles or muntins, which divide the glass into smaller panes. It offers a traditional look while still providing a large, unobstructed view.
- Energy-Efficient Picture Window: Modern picture windows come with energy-saving features like double or triple glazing, low-E coatings, and inert gas fillings. These features help in minimizing heat transfer and UV radiation.
Each style offers unique benefits, whether it’s in enhancing the aesthetic appeal, providing better insulation, or combining the beauty of a large window with practical features like ventilation.
FAQ About Picture Window Replacement and Installation
Q: Can I install a picture window, or should I hire a professional?
A: While picture window installation can be a DIY project, it is recommended to hire a professional for the best results. Professional installers have the experience and expertise to ensure proper installation and minimize any potential issues.
Q: How long does picture window installation typically take?
A: The duration of the installation process depends on various factors, including the size of the window, the complexity of the installation, and the experience level of the installer. On average, picture window installation can take a few hours to a full day.
Q: How much does picture window installation cost?
A: The cost of picture window installation varies based on factors such as the size of the window, the type of window, and the location of the building. It is best to obtain quotes from multiple contractors to estimate your specific project accurately.
Conclusion
Installing a picture window can transform the look and feel of your home, providing natural light and breathtaking views. This step-by-step guide gives you the knowledge and confidence to tackle picture window installation. Gather all the necessary tools and materials, prepare the area, measure and prepare the opening, and carefully install and seal the window. By avoiding common mistakes and taking your time, you will have a beautiful and functional picture window that enhances your home’s aesthetics and energy efficiency.
For professional picture window installation and replacement services, contact Rhino Pleasanton Window Replacement & Siding. Our experienced team will ensure a seamless installation process and help you choose the perfect picture window for your home.